There’s an old Japanese saying: “He who climbs Mt. Fuji once is a wise man; he who climbs it twice is a fool.” I must say, I agree. The adage completely captures the allure and challenge of this magnificent mountain.
Climbing Mt. Fuji is a rite of passage, an experience rich in moments of awe, reflection, and physical rigor. But scaling its heights requires more than just physical stamina—it demands preparation and respect for the holy mountain.
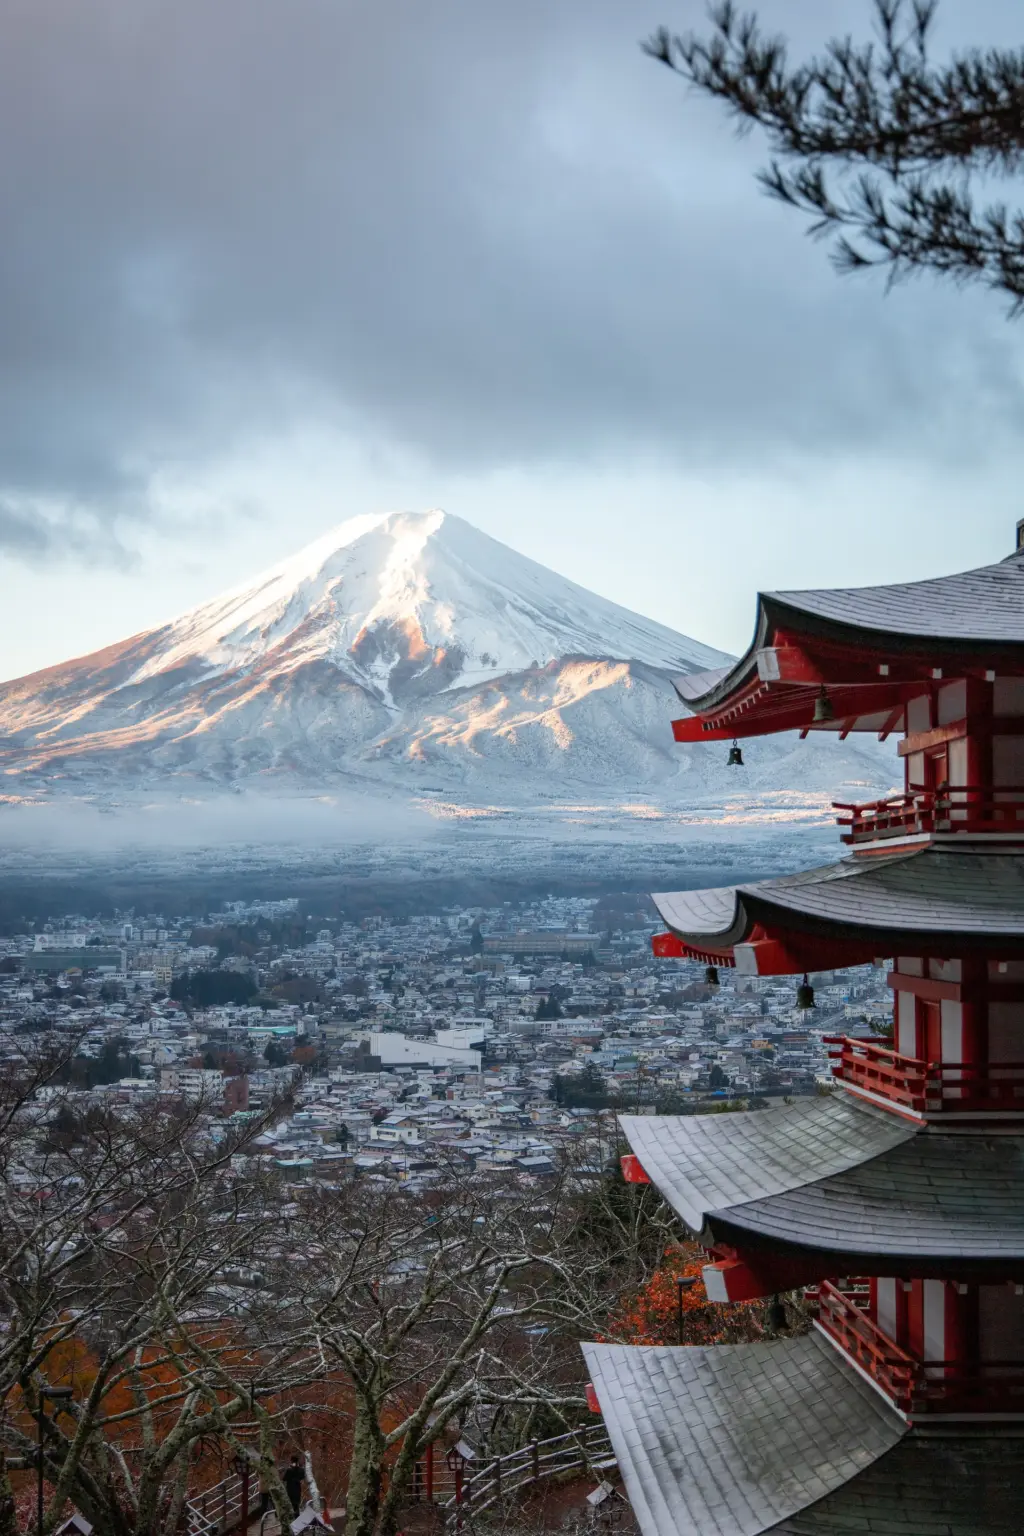
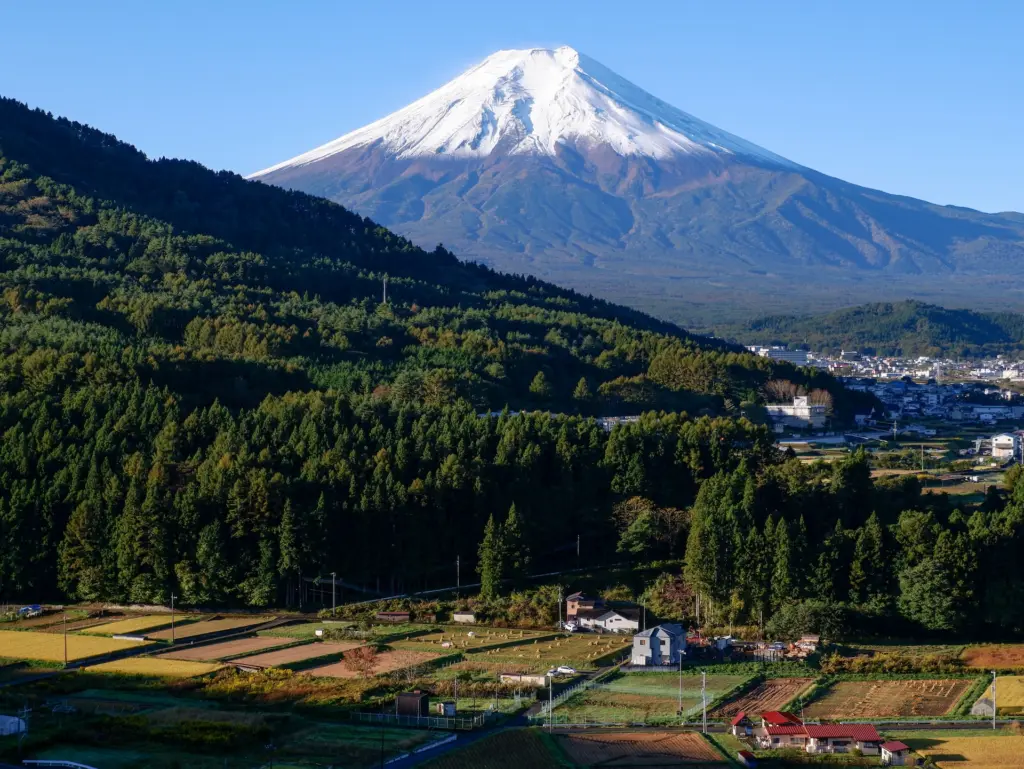
Standing tall at 3,776 meters (12,389 feet), Mt. Fuji, better known as Fujisan locally, is a reflection of Japan’s very spirit.
In 2013, Mt. Fuji was recognized for its unparalleled cultural significance and was inscribed as a UNESCO World Heritage Site, not as a natural wonder, but as a cultural one. That speaks volumes on just how important Mt. Fuji is to the nation.
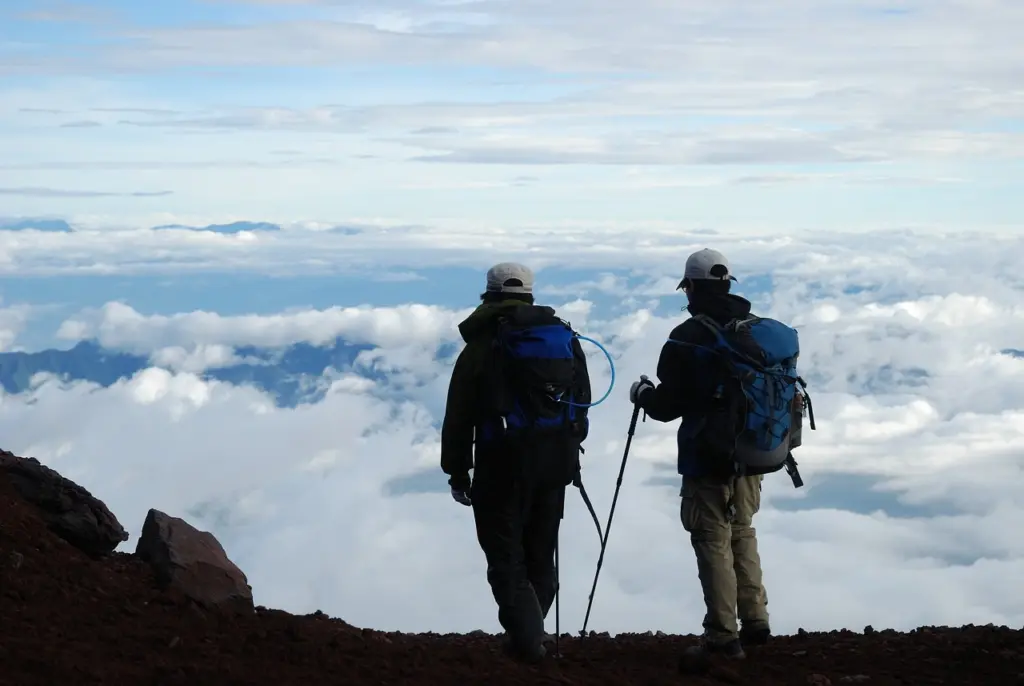
Our own journey up this revered mountain was transformative—a tale of endurance, camaraderie, and plenty of introspection. Needless to say, our Mt. Fuji Hiking Experience was an adventure of a lifetime!
This comprehensive guide is designed not just to prepare you for the climb but also to deepen your appreciation for Mt. Fuji and its storied past.
As you set forth on this adventure, remember that climbing Mt. Fuji isn’t merely about reaching its summit—it’s about connecting with a vital aspect of Japanese heritage.
With every step, you walk a path steeped in history, tradition, and spirituality. And as you do, bear in mind the mountain’s duality: a site of natural beauty and a bastion of cultural significance.
Let this journey be not just of feet and miles but also of heart and soul.
Table of Contents
Toggle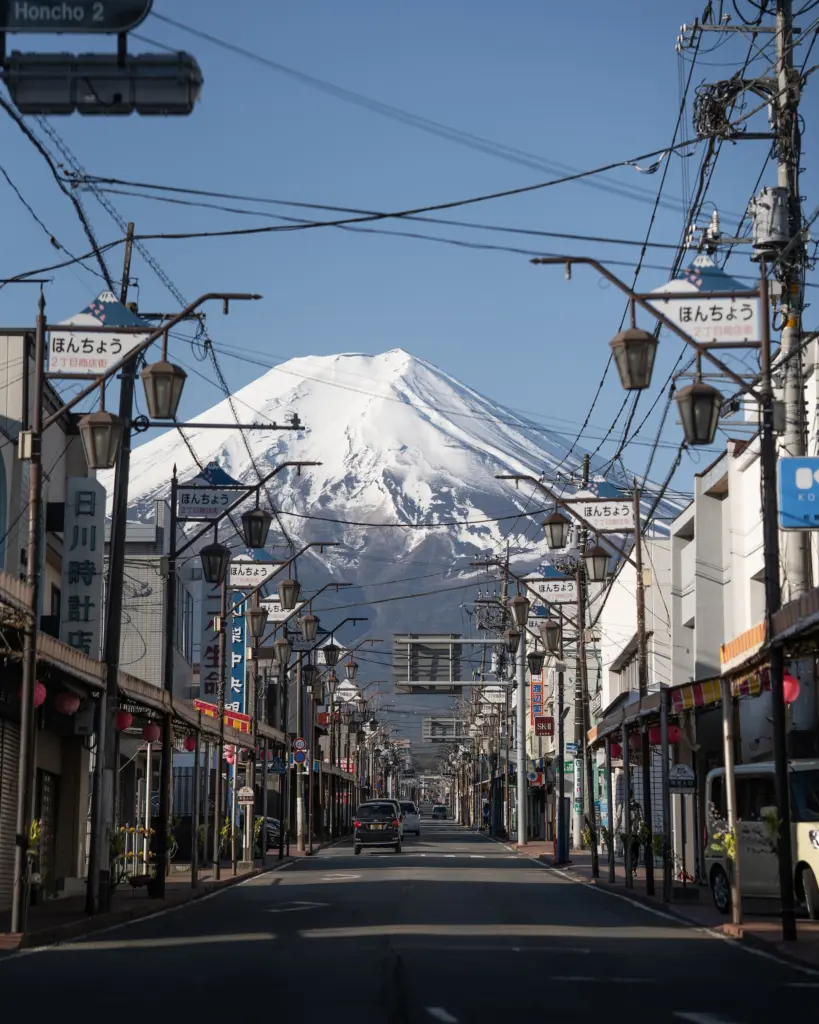
Where is Mt. Fuji?
Mt. Fuji is located on the main island of Honshu in Japan. Specifically, it lies on the border between Yamanashi and Shizuoka Prefectures.
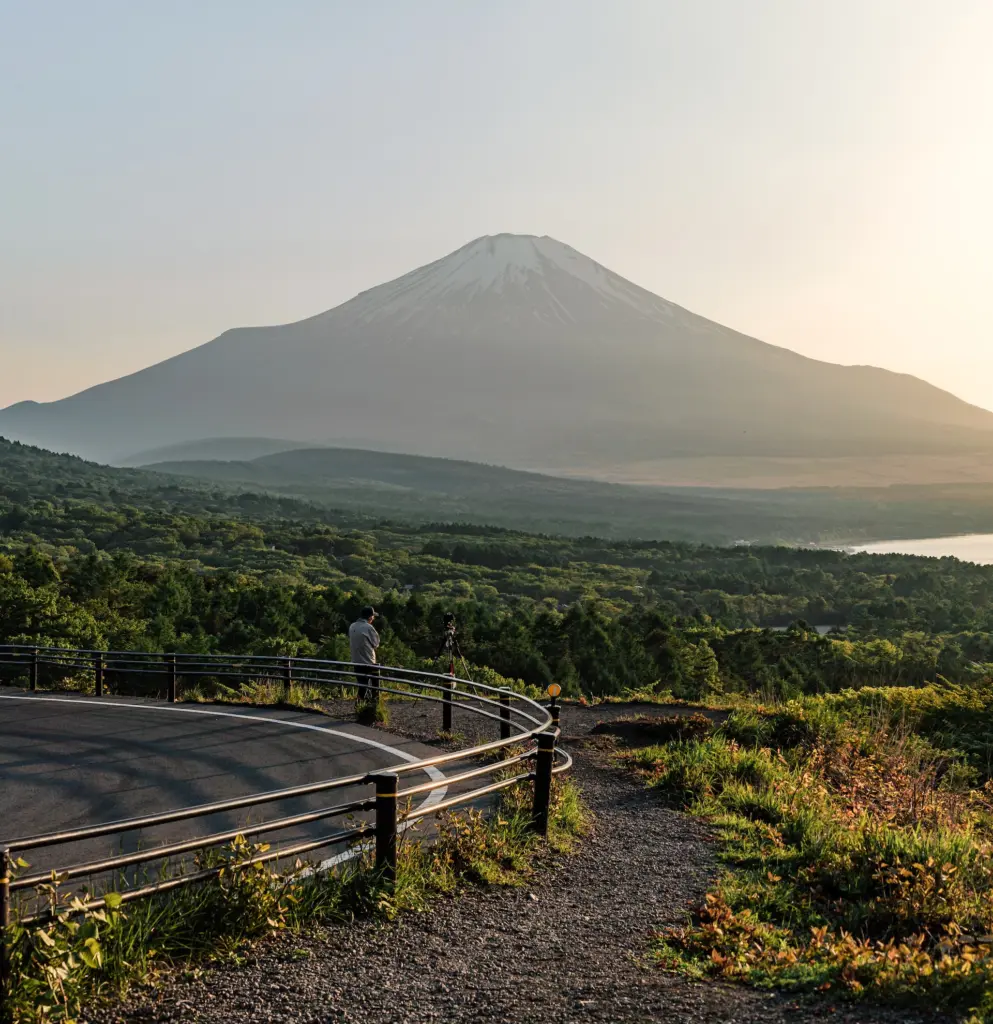
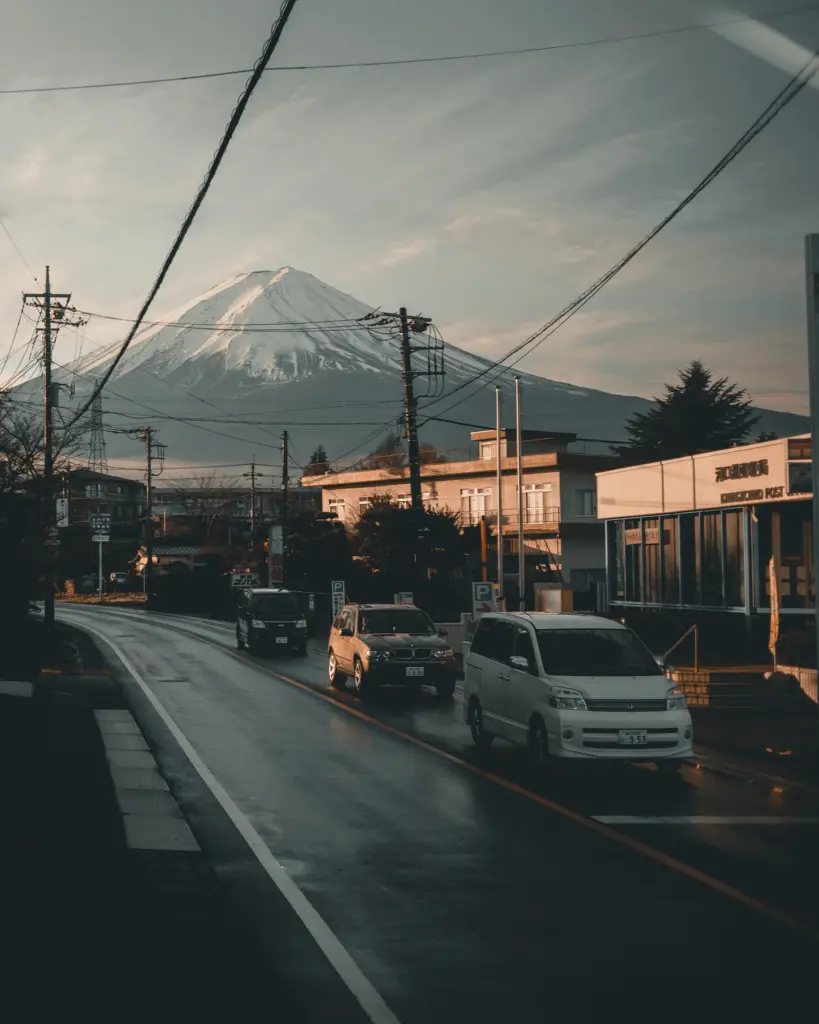
It’s situated 100 km (62 mi) southwest of Tokyo and can even be seen from the city on a clear day.
It stands adjacent to the Pacific Ocean, and its base encompasses several lakes, the most famous of which are Lake Kawaguchi, Lake Yamanaka, and Lake Motosu.
The city of Fujiyoshida lies to the north, while Gotemba is situated to the southeast. Both cities serve as common starting points for travelers heading to the mountain.
Why is Mt. Fuji Sacred?
More than just a mountain and more than Japan’s tallest peak— Mt. Fuji is a spiritual icon deeply embedded in the nation’s psyche.
Historically, the indigenous religion of Japan, Shintoism, revered mountains as the homes of deities, and the grandeur of Mount Fuji naturally made it the abode of a potent spirit.
Over time, as Buddhism permeated Japanese culture in a form of religious syncretism, Mount Fuji’s sanctity evolved further.
It came to be seen as a nexus between our world and the higher realms.
The mountain’s aesthetic—a nearly perfect, snow-capped cone—has made it a symbol of purity, immortality, and rebirth.
This symbolism is further enriched by the mountain’s volcanic nature. Its sporadic eruptions and the consequent fertile lands stand as metaphors for life’s cyclical pattern of creation, obliteration, and renewal.
Works like the “Thirty-Six Views of Mount Fuji” by Hokusai offer glimpses of the mountain’s omnipresence in Japanese life.
And while modernity has changed many traditions, the annual pilgrimages to Mount Fuji, undertaken by countless souls (including the mystical yamabushi) seeking spiritual purification, are proof to its undiminished significance.
Which Mt. Fuji Trail is Best?
The “best” trail on Mt. Fuji often depends on what you’re looking for – whether it’s a challenging route, scenic beauty, or fewer crowds.
For first-time climbers and those seeking a well-facilitated route with cultural touchpoints, the Yoshida Trail might be best.
For experienced hikers who prefer fewer crowds and a more extended, challenging hike, the Gotemba Trail might be the choice.
Those wanting a mix of forest terrain and volcanic sand might opt for the Subashiri Trail.
While hikers looking for a more direct and easier path to the summit might prefer the Fujinomiya Trail.
Here’s a breakdown of each of the main trails to help you choose the right one for you:
Yoshida Trail
Why Choose the Yoshida Trail:
- Ochudo Path: A relatively flat path that circles the mountain around the 5th station. It’s a serene diversion where you can get different vantage points of Mount Fuji and its surroundings.
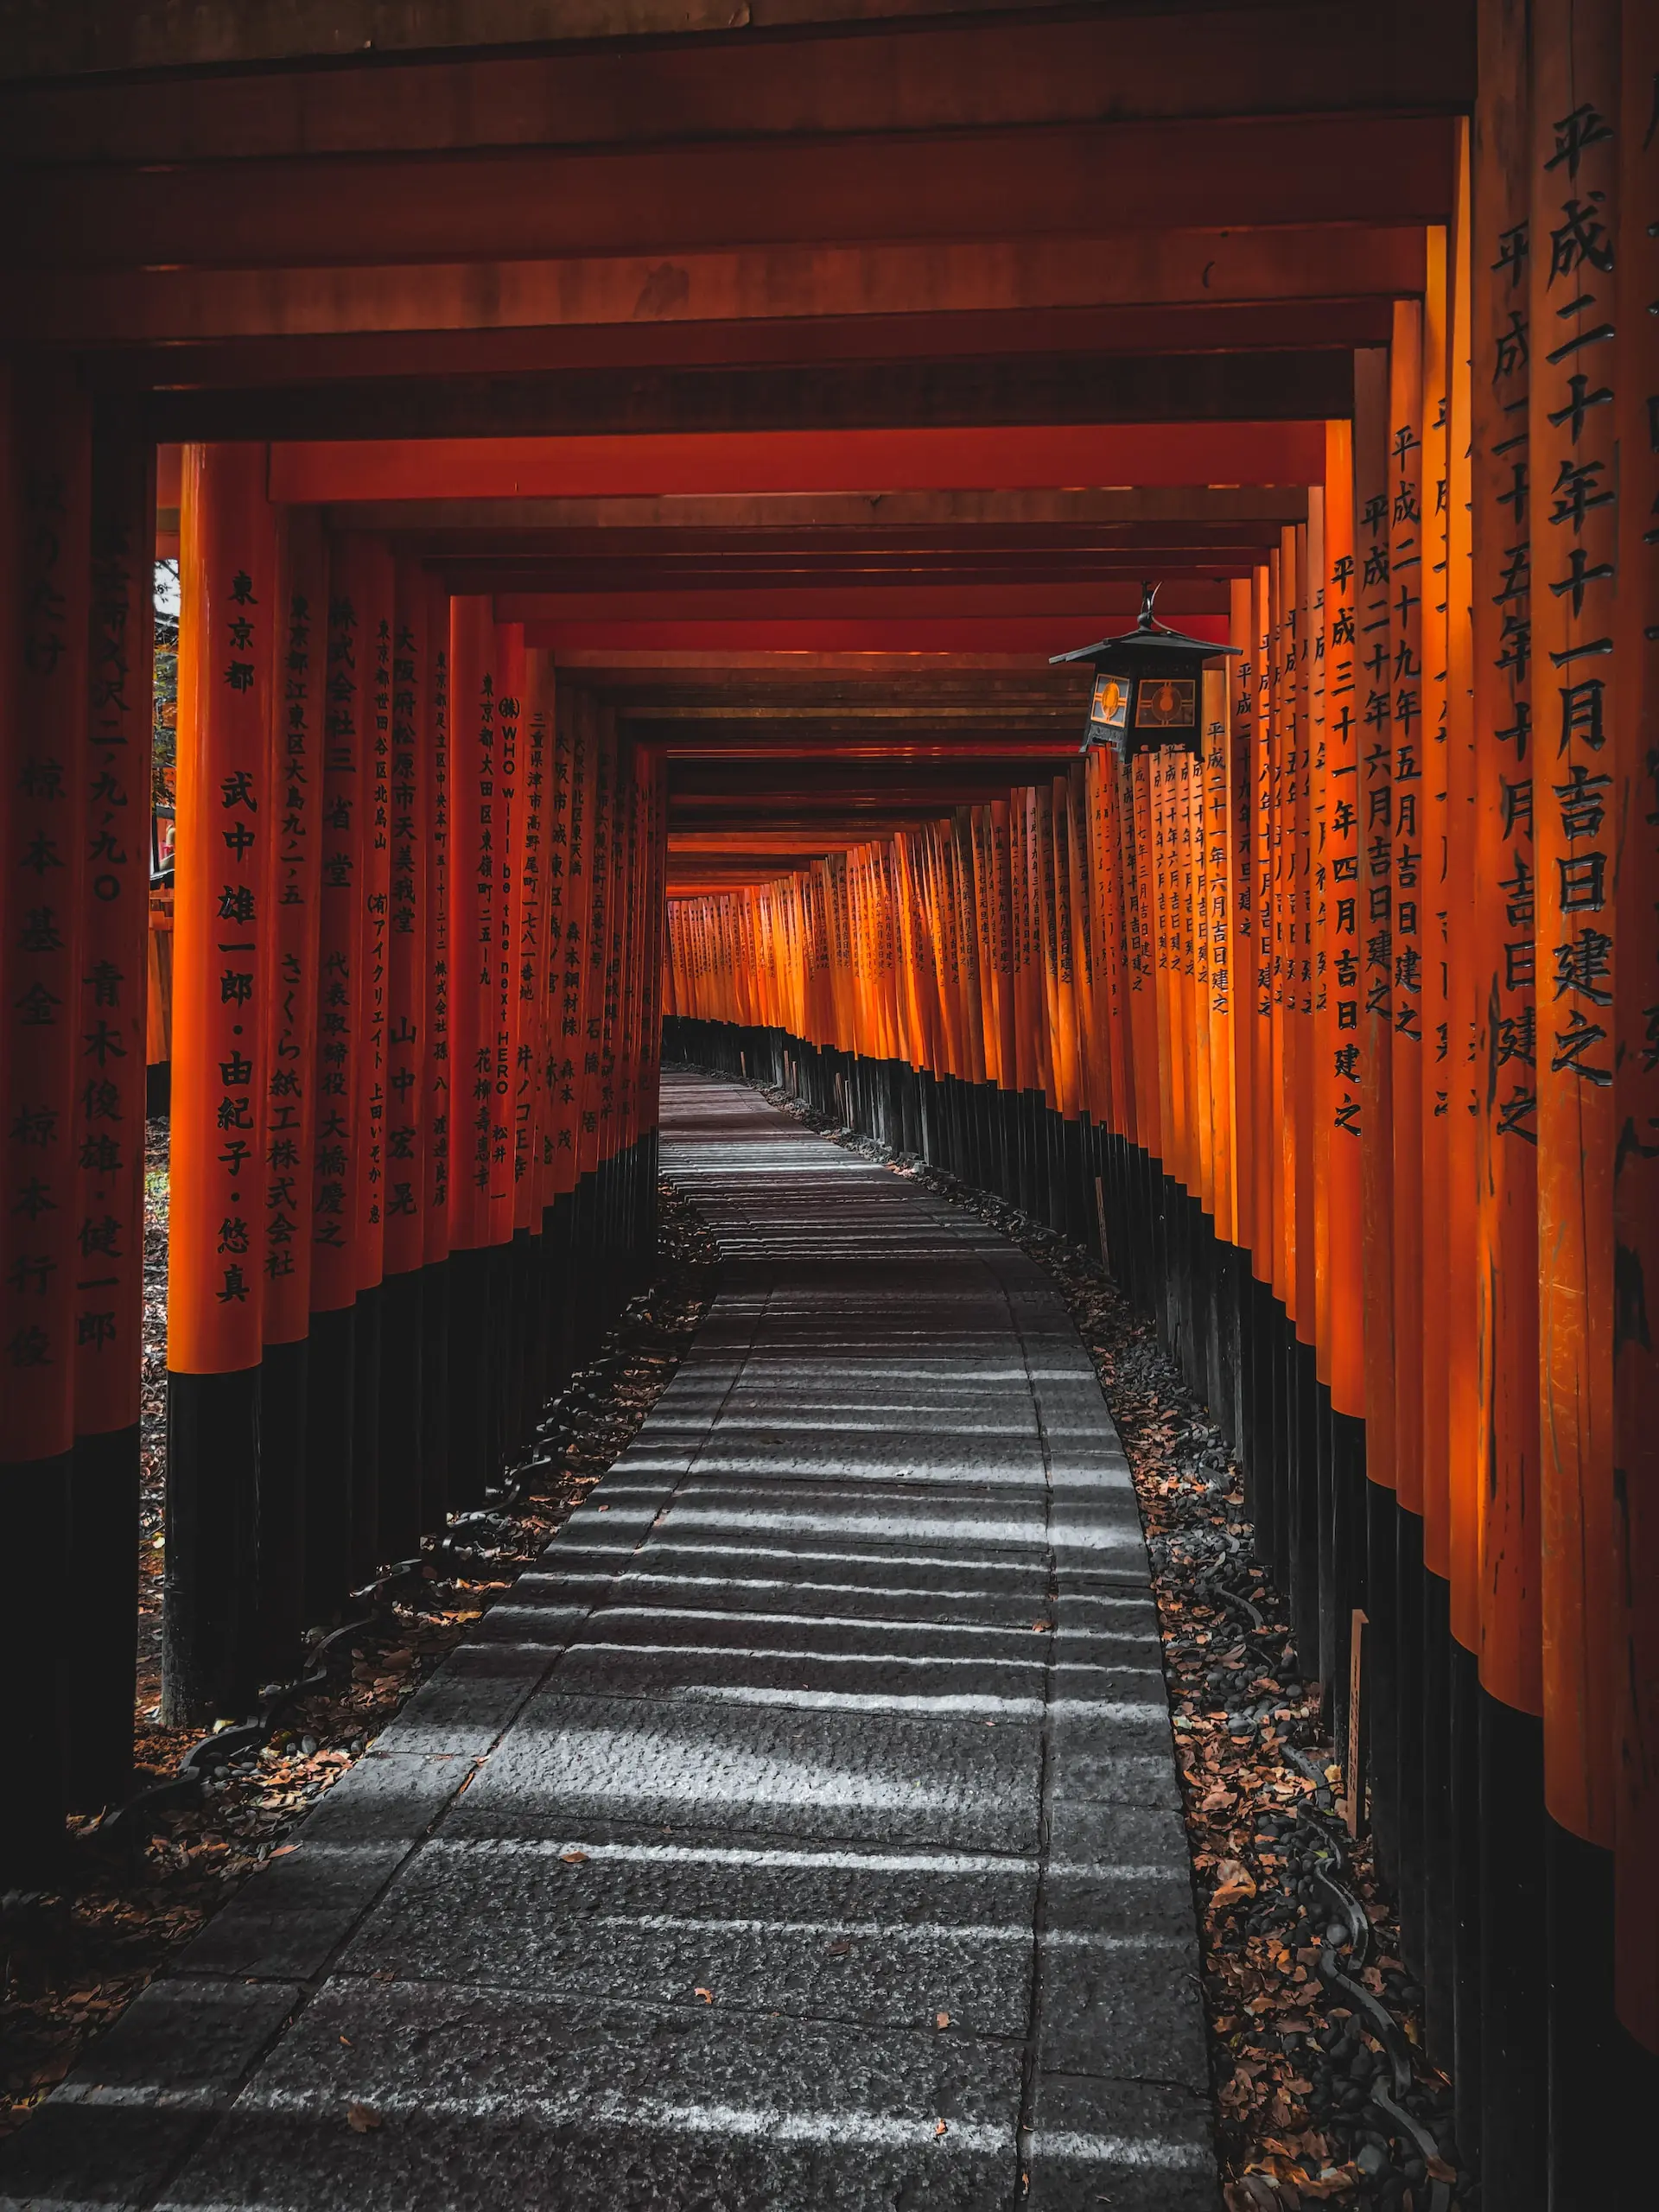
- Torii Gates and Shinto Shrines: Along the way, you’ll pass through several torii gates, indicating the presence of Shinto shrines. It’s a very spiritual trek.
The Yoshida Trail is often touted as the most “beginner-friendly” of the four major routes leading to the summit of Mount Fuji. However, this doesn’t mean it’s a walk in the park.
While it’s the most established trail, it still requires a reasonable level of physical fitness (all of the trails do).
The trail stretches approximately 20 km (12 mi) round-trip.
Starting from the fifth station at an altitude of 2,300 m (7,545 ft) , climbers usually take about 6 hours to reach the summit and about 4 hours to descend, making for a total of 10 hours of hiking.
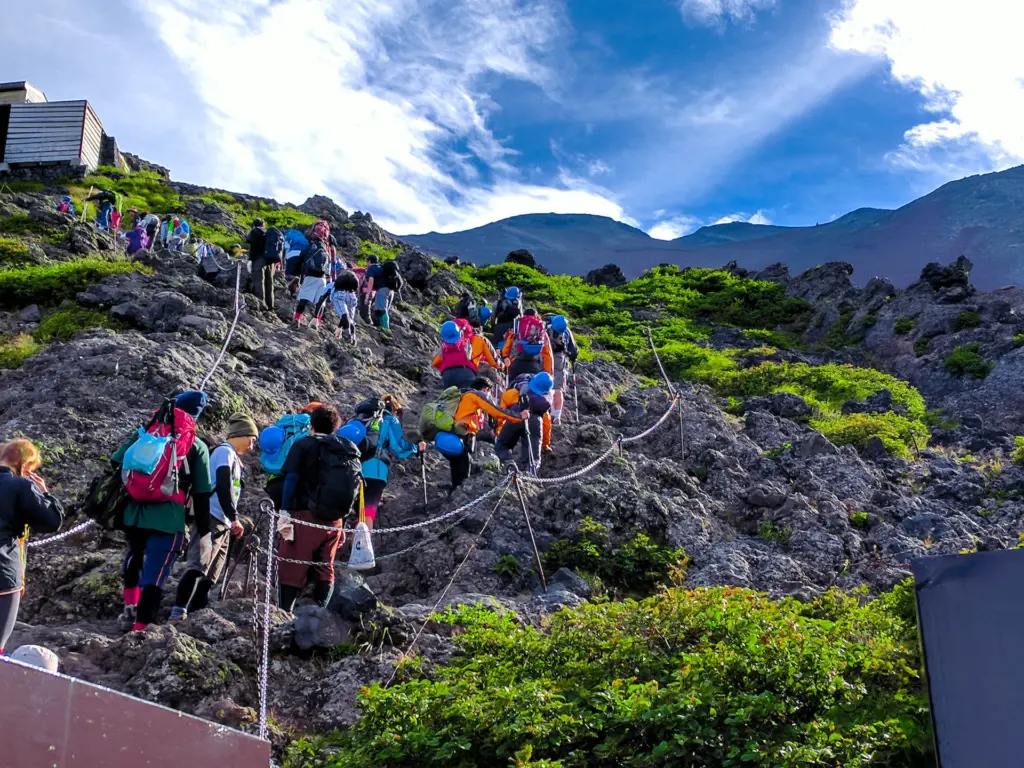
The Yoshida Trail is, without a doubt, the most popular route to the summit of Mount Fuji. Its accessibility from Tokyo and its reputation as the “easiest” path up the mountain make it a favorite choice for both locals and tourists. Anticipate crowds, especially during the official climbing season (July and August).
It’s not uncommon to experience “traffic jams” on the trail during peak times, where you’ll have to wait your turn to proceed, especially the summit.
The various mountain huts along the route can also get crowded, so it’s wise to book in advance if you plan on spending the night.
The Yoshida Trail is rich in amenities compared to other trails. Mountain huts are frequent, and there are clear signposts in both Japanese and English. Plus, the path is well-maintained.
Subashiri Trail
Why Choose the Subashiri Trail:
- Verdant Forests: The beginning of the Subashiri Trail offers a beautiful trek through lush green forests, providing shade and a distinctively different environment from the other trails.
- The Sunabashiri Sand Slide: The Sunabashiri, unique to the Subashiri descending route, allows you to take large sliding steps in the volcanic sand, making the descent both fun and faster. Similar to what we did in Mongolia‘s Singing Dunes, it’s one of the most fun things we did on the way down which also sped up our descent considerably. Make sure you have masks because it can get really dusty especially if you’re behind the sand-runners.
The Subashiri Trail is known for its distinct volcanic sand paths, especially in the descending route, which has given it the nickname “Sunabashiri,” translating to “sand run.”
Starting at an altitude of 2,000 m (6,560 ft), the initial parts of this trail are relatively gentler, you’ll go through dense forests, but as you ascend, the trail does become steeper and more challenging, particularly once it merges with the Yoshida Trail near the 8th station, the lush forests being replaced by the barren landscape of volcanic gravel.
Our group went with the Subashiri Trail just because we wanted to see some semblance of nature. Mt. Fuji is beautiful from afar, but once you hike it you’ll realize there’s nothing much to see except rocks, rocks, and more rocks. On the descent, we took the Yoshida trail to see another side of Mt. Fuji.
The Subashiri Trail covers approximately 19 km (11 mi) round-trip. From the fifth station starting point, the ascent typically takes around 6 hours, while the descent, especially if making use of the sandy “slide” of the Sunabashiri, takes about 3 hours. Overall, you should allocate 9 hours for the full hike.
While the Subashiri Trail isn’t as crowded as the Yoshida route, it still attracts a good number of hikers. The initial stages, up to where it merges with the Yoshida route, are less populated, allowing for a more serene hiking experience.
Once it merges, expect the crowd levels to be similar to those of the Yoshida Trail, especially near the summit.
Gotemba Trail
Why Choose the Gotemba Trail:
- Osunabashiri Sand Slide: Not to be confused with the Subashiri Sand Slide, the Osunabashiri on the Gotemba Trail is the longest continuous descent path covered in volcanic sand on Mount Fuji.
- Osawa Kuzure: The trail encompasses the Osawa Kuzure, a vast volcanic gravel pleateau. Traversing this area is both challenging and awe-inspiring as you go through an otherworldly landscape.
The Gotemba Trail is characterized by its relatively low starting altitude (1,450 m or 4,570 ft), which means a longer ascent compared to the other trails.
The Gotemba Trail spans roughly 22 km (13 mi) for the round trip journey.
Due to its longer distance and challenging terrains, you can anticipate a longer ascent time—typically around 7 hours. For the descent, leveraging the broad Ochudo gravel paths, it might take around 3 hours. In total, allocate approximately 10 hours for the complete expedition.
The Gotemba Trail tends to attract fewer hikers than the Yoshida and Subashiri trails, partly because of its demanding nature and its lower starting altitude. Note, that there are also no first-aid centers here.
This could be a preferred choice if you’re looking for a less crowded, albeit more challenging experience. The crowds will pick up once the trails start to converge towards the summit.

Fujinomiya Trail
Why Choose the Fujinomiya Trail:
- Majestic Southern Views: Fujinomiya Trail, located on the southern side of Mount Fuji, provides picturesque views of the southern Japanese Alps and Suruga Bay.
- Historical Shrines: The trailhead starts near the Fujisan Hongū Sengen Taisha, a revered Shinto shrine dedicated to Princess Konohanasakuya, the deity associated with Mount Fuji.
- Crater Rim: The Fujinomiya Trail is the closest route to the Kengamine Peak, the highest point of Mount Fuji’s crater. It offers you the opportunity to witness the vast crater up-close.
The Fujinomiya Trail is often considered to be one of the more straightforward routes up Mount Fuji, largely due to its high starting point at 2,400 m (7,875 ft).
Despite this advantage, the direct ascent means that there’s less opportunity for acclimatization, which can really make or break the hike.
The trail’s inclination is consistent, with only a few steep patches closer to the summit.
Covering a distance of approximately 8 km (5 mi) one-way (16 km or 10 mi roundtrip), the Fujinomiya Trail is relatively shorter compared to some of the other trails.
You can expect to take about 5 hours for the ascent and about 3 hours for the descent. In total, a round trip can be achieved within 8 hours.
Being the second most popular route after the Yoshida Trail, Fujinomiya witnesses a considerable influx of climbers. Its popularity is also attributed to its direct route, which some find more accessible.
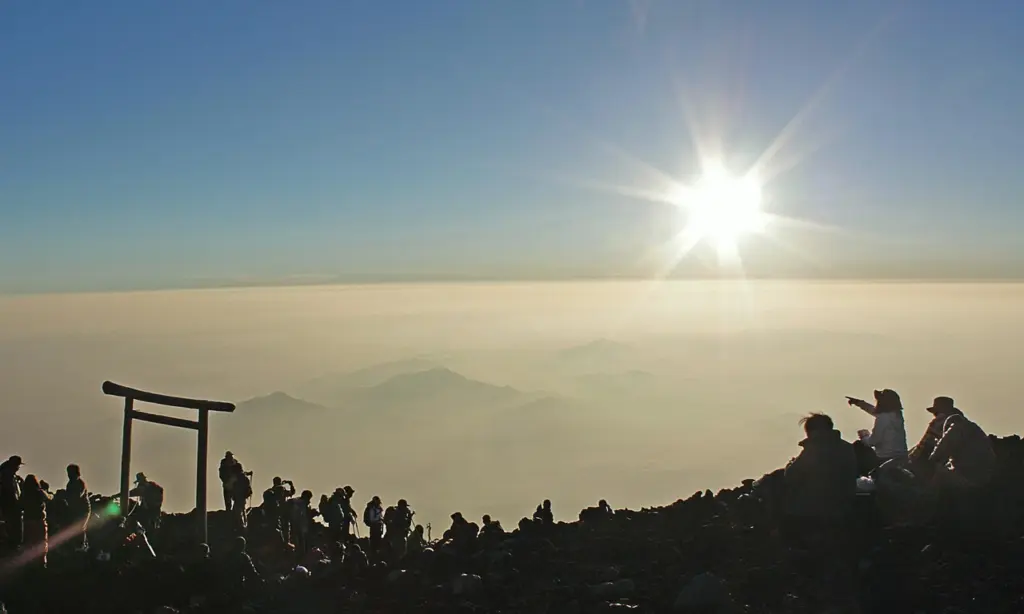
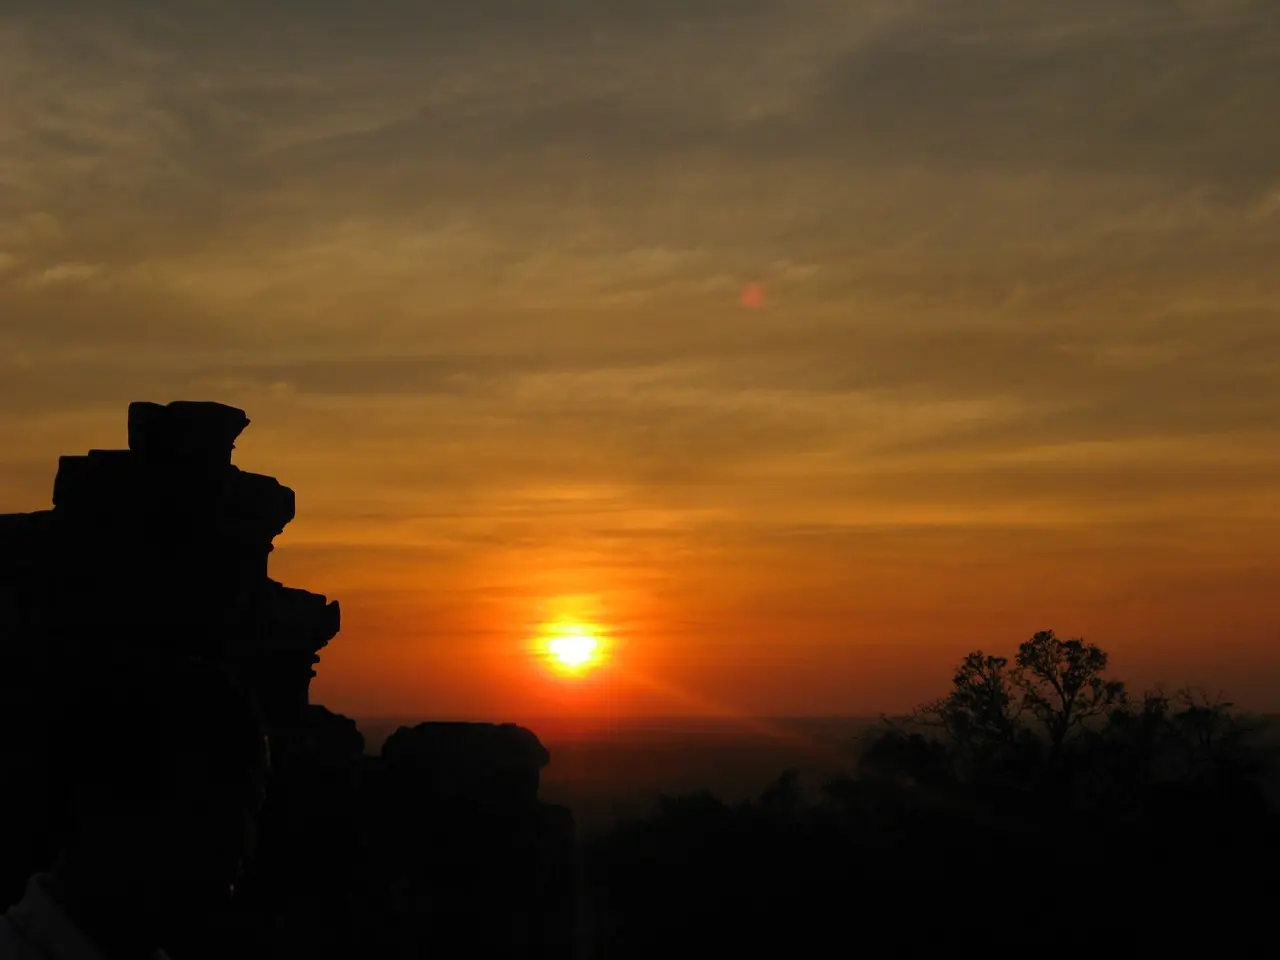
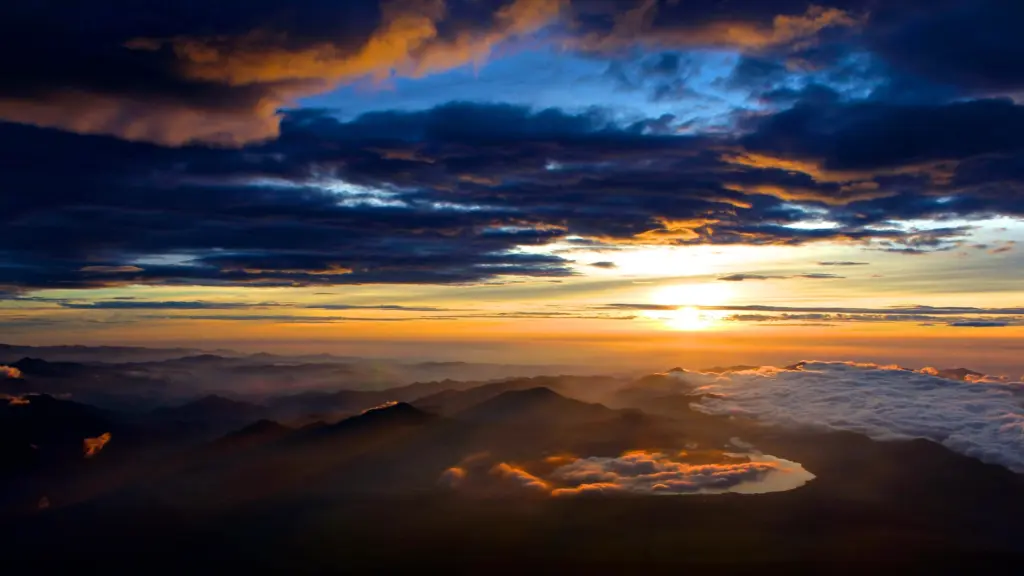
How to See the Sunrise at Mt. Fuji
Experiencing the sunrise from the summit of Mt. Fuji is a cherished moment for many climbers, often referred to as “Goraiko” which means “arrival of light.”
Here’s a primer to catch this mesmerizing view:
1. Select Your Viewing Spot
-
- From the Summit: This is the most popular choice. The summit offers an unobstructed view of the sunrise, with the sun rising from a sea of clouds beneath you.
- From the Mountain Huts: If you’re not keen on reaching the summit or if you’re concerned about the climb’s difficulty, many mountain huts along the ascent offer views of the sunrise.
- From the 5th Station: If you don’t plan on climbing, the 5th Station of some trails also offers a good vantage point.
2. Plan Your Climb
-
-
Overnight Climb: Many climbers start their ascent at night, aiming to reach the summit just before dawn. This is often called the “bullet climb.” If you’re aiming for the summit, typically start from the 5th Station around 8-10 PM (timing varies depending on your pace and chosen trail).
-
Stay in a Mountain Hut: Another option is to climb partway up the mountain in the afternoon, stay overnight in a mountain hut, and then continue to the summit or desired viewpoint in the early morning. Make sure to reserve your spot in the mountain hut ahead of time, especially during peak season.
-
- Sunrise time varies throughout the year. In July, it’s around 4:30 AM, while in late August and September, it’s closer to 5:00 AM. Check specific times before your climb.
-
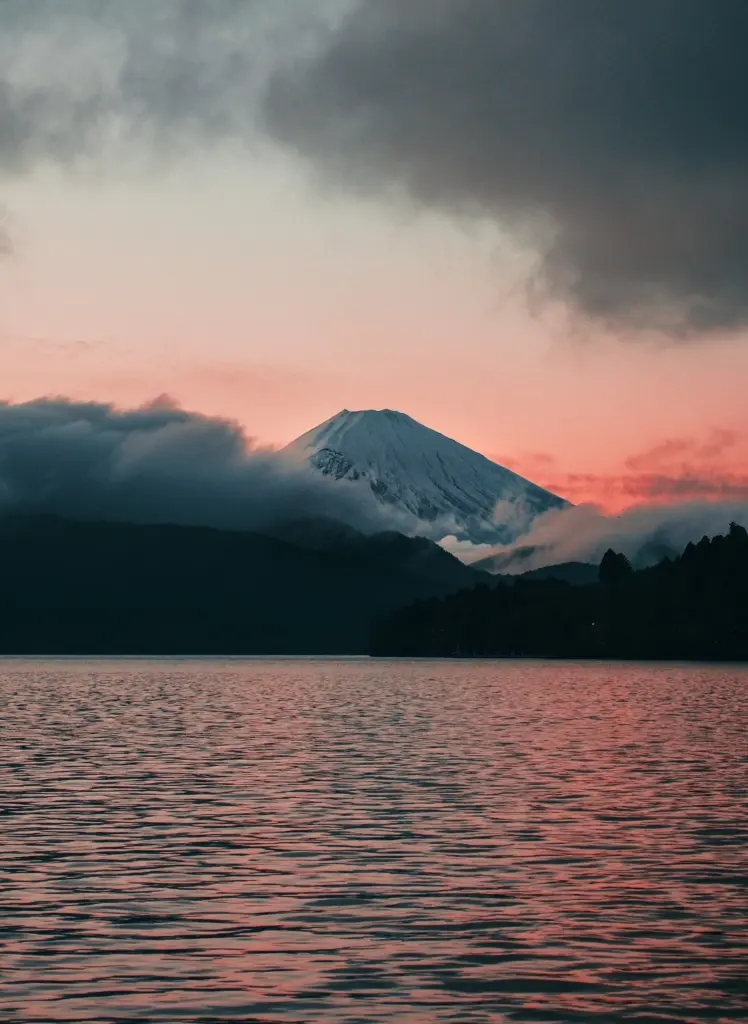
- Alternatively, you can catch the sunset instead, which is an experience on its own. We couldn’t see the sunrise but did the sunset because we planned on doing it in one day and not at night. Instead, we saw Mt. Fuji’s enormous shadow completely swallowing the entire Kanto plains which was definitely a sight to behold!
Best Mt. Fuji Tours
Alternatively, there are also tours that you can join that takes you can join from Tokyo that can take you all the way to the 5th station and around the Fuji Five Lakes area.
- Mt. Fuji Full-Day Sightseeing Trip – Discover Mount Fuji, one of the world’s most famous mountains and a UNESCO World Heritage Site. Explore the Kawaguchi Lake, 5th Station, and Oshino Hakkai on a full-day guided trip from Tokyo.
- Mt. Fuji and Lake Kawaguchi Scenic Bus Tour – Visit 4 of the most popular scenic spots around Lake Kawaguchi area with the backdrop of the beautiful Mt. Fuji. Admire thatched houses, quaint villages, pagodas, and stunning flowers.
When is the Best Time to Climb Mt. Fuji?
The best time to climb is around late July to mid-August. The weather is stable, and all amenities are open. Consider starting your climb during weekdays to avoid the weekend crowds if you can.
And of course, starting in the early morning can help you avoid congestion on the trail and give you ample time to reach the summit.
The official climbing season for Mt. Fuji is early July to early September.
Outside the official climbing season, climbing Mt. Fuji is highly discouraged. The weather conditions can be severe, with freezing temperatures, strong winds, and even snowfall.
Additionally, the huts and most services are closed, and rescue operations are limited to none. If you choose to climb outside the official season, it’s imperative to be an experienced mountaineer with appropriate gear and preparation.
Mt. Fuji by month
- July: The start of the climbing season, with relatively warm temperatures. However, it’s also the rainy season, so expect unpredictable weather and prepare for rain.
- August: The warmest and the most popular month to climb Mt. Fuji. It offers clear skies but can also be quite crowded, especially during the Obon week (around mid-August).
- September: Weather starts to cool down, and while the first half remains popular, the conditions become progressively harsher towards the end of the month.
- October to June: These months fall outside the official climbing season. Expect cold temperatures, snow, and ice. Climbing during these months requires winter mountaineering skills and equipment.
What to Bring for Mt. Fuji
Ensuring you have the right gear can make your adventure safer and more enjoyable. Note that camping is not allowed on the mountain, so tents are not required.
Here’s a detailed guide on what to pack:
- Breathable clothes: Bring an extra pair just in case
- Down jacket: You will be rotating your clothes a lot, adjusting to the fluctuating temperatures. Sometimes you’ll just be in a t-shirt and sometimes you have three layers on.
- Rain gear: Rain is unpredictable in the higher levels, there can be frequent showers at random intervals.
- Hiking shoes: Good hiking shoes go a long way! Especially one with good traction on gravel.
- Hiking socks: With moisture-wicking properties. Bring an extra pair in case you get blisters.
- First Aid Kit: Include bandages, antiseptic wipes, blister treatment, and any personal medications.
- Torch: If you’re planning on climbing Mt. Fuji at night, headlamps are preferable as they leave your hands free.
- Snacks: Nuts, dried fruits, energy bars, I also learned black chocolate helps reduce symptoms of altitude sickness!
- Money: You need to bring cash, whether it’s to use the toilets or to buy a bowl of ramen.
- Water: At least 2L to start with. Note that water gets more expensive as you go higher.
- Walking Poles: If you feel like a go-getter, rent or get hiking poles. They help a lot in balancing and reduce the strain on the knees by up to 25%!
- Sun Protection: You are quite close to the sun up there!
How to Stay Safe while Climbing Mt. Fuji
Mt. Fuji is no joke, every year there are always casualties, people have to be rescued, and even cases of death.
We felt the altitude sickness a lot during our hike, we saw other people puking as well. It can be quite a nasty endeavor.
When embarking on a journey to the summit of Mt. Fuji, prioritizing safety is paramount. The mountain presents real challenges and preparing for the potential risks can mean the difference between a successful hike and an emergency situation.
If you’re coming from abroad, then I highly recommend getting some travel insurance before attempting this climb.
Here are just some things to consider:
1. Weather
Mountain weather can change rapidly, and Mt. Fuji is no exception. Sunshine can quickly turn to rain, wind speeds can increase dramatically, and temperatures can plummet.
Pro-tips:
- Prepare for all conditions. Even in summer, temperatures at the summit can be near freezing. Waterproof and windproof clothing, as well as warm layers, are essential.
- During your climb, take periodic breaks, but keep them brief to prevent your body temperature from dropping.
- Websites like the Japan Meteorological Agency provide updated weather forecasts specifically for Mt. Fuji.
- Be cautious if rain, thunderstorms, or strong winds are forecasted. Avoid the summit if lightning is predicted.
2. Altitude Sickness
Altitude sickness is what our whole group encountered and had to deal with. Headache, dizziness, shortness of breath, nausea, and difficulty sleeping can all indicate altitude sickness.
Pro-tips:
- Before starting your ascent, take a break for about 1-2 hours near the 5th station to allow your body to adjust to the altitude.
- Walk at a slow and steady pace. Rapid ascension increases the risk of altitude sickness.
- Take deep breaths and exhale firmly from your stomach. This aids in better oxygen circulation.
- Drink water frequently. Sports drinks, which replenish electrolytes, can be more effective than plain water. Contrary to some beliefs, holding off on hydration can lower your metabolism and increase susceptibility to altitude sickness.
- Upon reaching your hut or resting area, give your body time to adjust to the altitude (around an hour). Sleeping immediately can lead to shallow breathing, increasing the risk of altitude sickness.
- If you or a group member starts showing symptoms, stop climbing and rest. Engage in conscious deep breathing.
- In the end, the best and most effective treatment for altitude sickness is descending to a lower altitude.
3. Oxygen Cans
You’ll find oxygen cans while climbing Mt. Fuji but use them sparingly. Here’s an in-depth look at their usage, benefits, potential downsides, and recommendations.
Pro-tips:
- Oxygen cans might temporarily alleviate symptoms, but they don’t address the root causes of altitude sickness. If symptoms persist or worsen, the best remedy is to descend to a lower altitude.
- Relying on supplemental oxygen can give you a false sense of well-being, leading you to push yourself beyond safe limits and ignore other symptoms of altitude sickness or physical distress.
- Oxygen cans can and will run out, so relying on them might not be the best strategy.
4. The Bullet Climb
The term “Bullet Climb” refers to the practice of climbing Mt. Fuji in a straight shot. It’s a fast-paced trek that tries to fit the entire Fuji experience into roughly a 12-hour window. It’s highly discouraged yet some people are forced to do it, it’s what we did. Here’s what you should know:
Pro-tips:
- For those with tight schedules, the Bullet Climb offers a way to experience Mt. Fuji without committing multiple days.
- The continuous climb without adequate rest can be extremely tiring. The lack of sleep combined with the physical exertion can make the trek more challenging than expected.
- The rapid ascent without allowing time for acclimatization increases the risk of altitude sickness.
Mt. Fuji and Environmental Responsibility
Mt. Fuji, being designated as a UNESCO World Heritage site means that the mountain isn’t just recognized for its natural beauty, but also for its cultural impact.
This designation carries with it stringent guidelines to protect and preserve the mountain’s sanctity and environment. Here’s what you should know:
- Carry some trash bags with you. With no public trash cans available on the mountain, you must be prepared to carry out all waste. Everything you bring should return with you.
- Removing rocks, plants, or any natural elements is strictly prohibited.
- The toilets beyond the 5th station generally require a fee (honesty system). Carry change for this. Do not urinate outside designated facilities, as this not only affects the environment but also disrespects the sacred nature of Mt. Fuji.
Mt. Fuji Post-Climb Recovery Tips
- Drink electrolyte solutions to replace lost minerals from all the sweating.
- Consume a balanced meal with complex carbohydrates, proteins, and good fats. This will help in muscle repair.
- Gentle stretching can aid in reducing muscle tightness and help in faster recovery. Focus on major muscle groups like quads, hamstrings, calves, and back muscles.
- Take a warm bath (an onsen is even better!) and just take it easy the next day.
How to Get to Mt. Fuji's Trailheads
Getting to any of Mt. Fuji’s trailheads requires some careful planning, you have to be ready to get up early because it’s not only going to be you vying for a seat in public transportation. This is especially so if you’re planning on doing Mt. Fuji in one day, which is not recommended by the way, but some people are short on time and mountain hut bookings can be difficult or expensive which is why we opted to go for a one day hike.
We almost missed the last bus back so I can’t stress enough to have a good entry and exit plan for Mt. Fuji. I can’t imagine staying there the whole night in the cold after an exhausting hike.
Public transportation is certainly reliable, you can also opt to rent a car for a much more stress-free and convenient experience.
Yoshida Trailhead
By Bus:
- From Fujisan Station, Kawaguchiko Station, or Fusan Parking (Summer only):
- Take the Mountain Bus directly to Fuji-Subaru Line 5th Station.
- Tickets can be purchased via smartphone.
- From Shinjuku Expressway Bus Terminal, Yokohama Station, Hiyoshi Station, Center Kita Station, Tama Plaza, or Ichigao Station:
- Take the Expressway Bus directly to Fuji-Subaru Line 5th Station.
By Car:
- Access via the Kawaguchiko Interchange on the Chuo Expressway or the Fujiyoshida Interchange on the Higashi Fujigoko Toll Road.
- Proceed on the Fuji-Subaru Line. Please note that it is not operational 24/7 during the mountain-opening period. Always check business hours.
- This will lead you to the Fuji-Subaru Line 5th Station.
Subashiri Trailhead
By Bus:
- From Gotemba Station or Shinmatsuda Station:
- Take the Mountain Bus directly to Subashiri Trail 5th Station.
By Car:
- Outside of specified peak dates, access via the Subashiri Interchange on the Higashi Fujigoko Toll Road.
- Continue on the Fuji-azami Line to reach Subashiri 5th Station.
- During peak dates (July 14 to August 27, September 1-3, and September 8-10), after the Subashiri Interchange, head to Michinoeki Subashiri.
- Take the shuttle bus to Subashiri 5th Station (Operational between 6 AM to 5 PM outbound and 6:45 AM to 5:45 PM inbound, every 60 minutes).
Gotemba Trailhead
By Bus:
- From Gotemba Station:
- Take the Mountain Bus directly to Gotemba Trail New 5th Station.
By Car:
- Access via Subashiri Interchange on the Higashi Fujigoko Toll Road or Gotemba Interchange on the Tomei Expressway.
- Follow R138 to the Gotemba-Fuji Park Line.
- Continue on the Mt. Fuji Skyline to reach Gotemba New 5th Station.
Fujinomiya Trailhead
By Bus:
- From Mishima Station, Shin-Fuji Station, Fuji Station, or Fujinomiya Station:
- Take the Mountain Bus directly to Fujinomiya 5th Station.
- From Shizuoka Station:
- Take the Expressway Bus directly to Fujinomiya 5th Station.
By Car:
- For dates outside July 9 and after September 11:
- Access via Gotemba Interchange or Susono Interchange on the Tomei Expressway. Proceed on the Mt. Fuji Skyline to Fujinomiya 5th Station.
- Alternatively, via Fuji Interchange on the Tomei Highway or Shinfuji Interchange on the Shin-tomei Highway. Follow Nishi-Fuji Toll Road and R139 to Mt. Fuji Skyline, leading to Fujinomiya 5th Station.
- From July 10 to September 10:
- Follow the same routes as above, but stop at Mizugatsuka parking lot. Take the shuttle bus to Fujinomiya 5th Station. The bus operates between 6 AM to 5 PM outbound and 7 AM to 6 PM inbound, every 60 minutes.
Plan Your Trip to Japan | Best Travel Resources
Book Your Accommodations
- Booking.com – the world’s leading online booking platform for accomodations around the world, they have an extensive amount of available listings with zero booking fees and best price guarantees.
- Hostelworld – a backpacker’s best friend, Hostelworld has the largest collection of hostels and guesthouses for affordable prices.
Don’t Forget Insurance
- SafetyWing – from Nomad Insurance, an insurance by nomads for nomads. They understand our lifestyle well and have really comprehensive and flexible plans that cater to any traveler.
Find Cheap Flights
- Kiwi.com – my go-to for booking and finding the cheapest flights and it’s helped me save tons of money. They do virtual interlining which is connecting flights from airlines that do not codeshare, so you can find routes that you wouldn’t be able to find normally.
Join Tours & Activities
- GetYourGuide – is one of the best places to find unique tours and activities. I found that it’s an excellent way to meet fellow travelers and create fond memories. They are not only limited to tours as they also offer niche services such as skip-the-line tickets or private transfers.
Catch a Ride
- Rentalcars.com – nothing beats the freedom of the road, Rentalcars.com is the world’s largest online car rental service. They operate across 160 countries so they’re the perfect partner to work with if you find yourself wanting a ride.